Our main objective as SP Meccanica is manufacturing high quality rack and pinions.
We constantly monitor the machining process right from the choice of materials used in the procurement stage, to go beyond thanks to the effort of qualified personnel and latest generation numeric control machines.
The choice of the best steel material including carbon steels (C40-C45), aluminium, bronze and brass alloys, stainless steels, including plastic materials such as Ertalon and Nylon, represents the crucial moment of the beginning of each SP Meccanica machining step.
With the aim of enforcing constant quality control, all mechanical processes – from cutting to grinding – are carried out within SP Meccanica except for the steps regarding thermal and surface treatments on the rack and pinions, which are outsourced to specialised external companies.
We issue quality certificates (dimensional quality) on executed works, upon the customer’s request.
GROUND-BREAKING metrology room
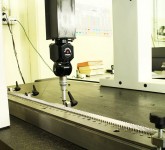
Quality work means always being in a position to measure all products at any step of the manufacturing process.
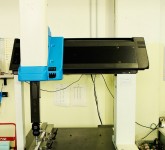
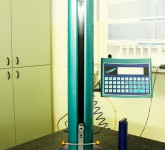
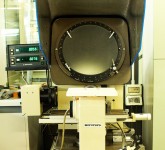
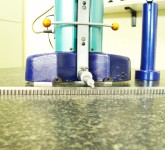
The finished product is checked in the metrology room by means of a DEA Three-dimensional machine, an altimeter and a profile gauge.
QUALITY IN SP MECCANICA
Averagely, we dedicate about 15% of the total time used for manufacturing an averagely complex product – rack and pinion to quality control.
This percentage is bound to increase for projects with high degree of complexity.
GET A QUOTE

